Editing RAW Images In iPadOS 13 Beta 2
Today I tested iPadOS 13 beta 2 ability to import RAW images from an SD card straight from my Nikon D750 so I can do my editing process on the iPad. I attempted editing one of the RAW image with Apple’s Photos.app, Pixelmator Photo and Darkroom. I’ll skip the importation process as this will be… Con

Today I tested iPadOS 13 beta 2 ability to import RAW images from an SD card straight from my Nikon D750 so I can do my editing process on the iPad. I attempted editing one of the RAW image with Apple’s Photos.app, Pixelmator Photo and Darkroom. I’ll skip the importation process as this will be discussed in a future blog post. For now, I’ll focus my attention on using other apps once the images are imported. As you will see, it is early beta stage and third-party apps are still not taking advantage of iPadOS 13.
My first attempt was to use the built-in Photos application. As of this writing, iPadOS 13 beta 2 doesn’t help me locate RAW images. They are not tagged in any way. And you won’t find them in a media types album either. I suspect Apple didn’t really change the way RAW images editing works on iPadOS. Too bad. Can’t believe I still need to rely on a third party app for such a basic thing. Oh well.
Using Darkroom
Darkroom relies on Photos Library in order to be able to import images for processing. That is less than optimal as I don’t like to rely on the Photos library for this workflow. Still, I gave it a try.
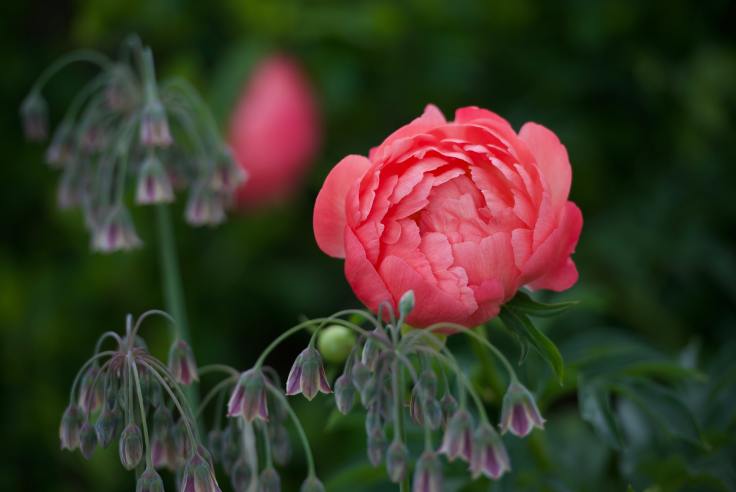
Once imported into the Photos Library, I could then import the RAW image into Darkroom for edit. At this point, I didn’t notice any difference compared to iOS 12. My review of Darkroom, in that case, is still relevant. The resulting image is shown here.
Using Pixelmator Photo
Pixelmator Photo initial interface is actually the iOS document browser. In that case, importing a photo into the application is simple as I can use the RAW image from the “Recent” tab or browsing directly from the SD card if it is still plugged into the iPad. Very simple.
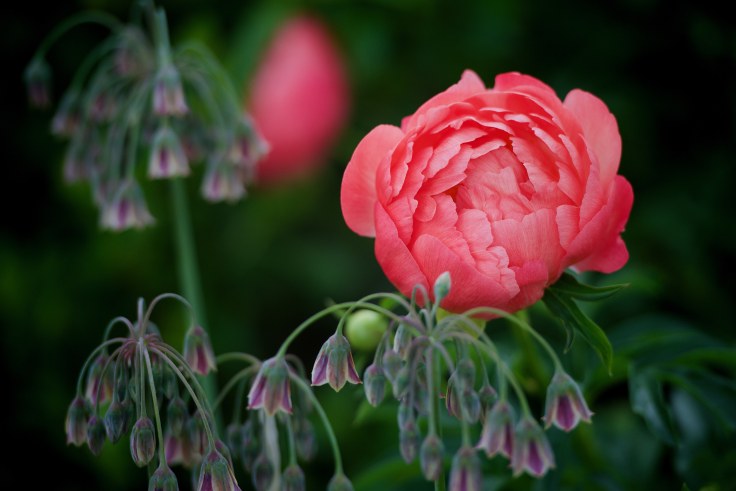
Once imported, editing the RAW image with Pixelmator Photo is a breeze. As I wrote previously, I feel at home with this application. I applied the same edits to the image which looks like this.
Still a work in progress
As you can probably deduce yourself, iPadOS 13 beta 2 is probably not complete in regards to editing RAW images. Third party apps are still unaware of the latest iPadOS new APIs and features. That being said, the importation process is a bit easier and Pixelmator Photo is the one who more easily gets the job done for now.
Which image do you prefer? Why? Feel free to respond in the comment section.