More Observations from Processing RAW Images on iOS 13
There are many mysteries surrounding RAW image handling on iOS. This weekend I experienced a few of them. Here are a few tidbits of information that you might like to know. Capturing Fall Colors This weekend I went out to capture fall colors in a small regional mountain park in Mont Saint-Hilaire, n
There are many mysteries surrounding RAW image handling on iOS. This weekend I experienced a few of them. Here are a few tidbits of information that you might like to know.
Capturing Fall Colors
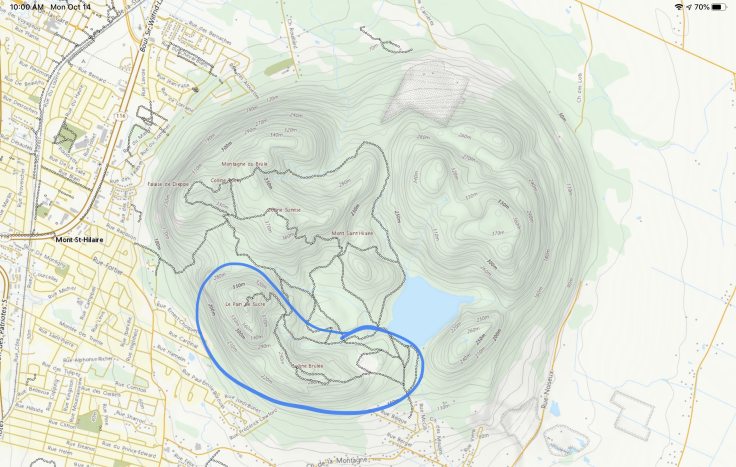
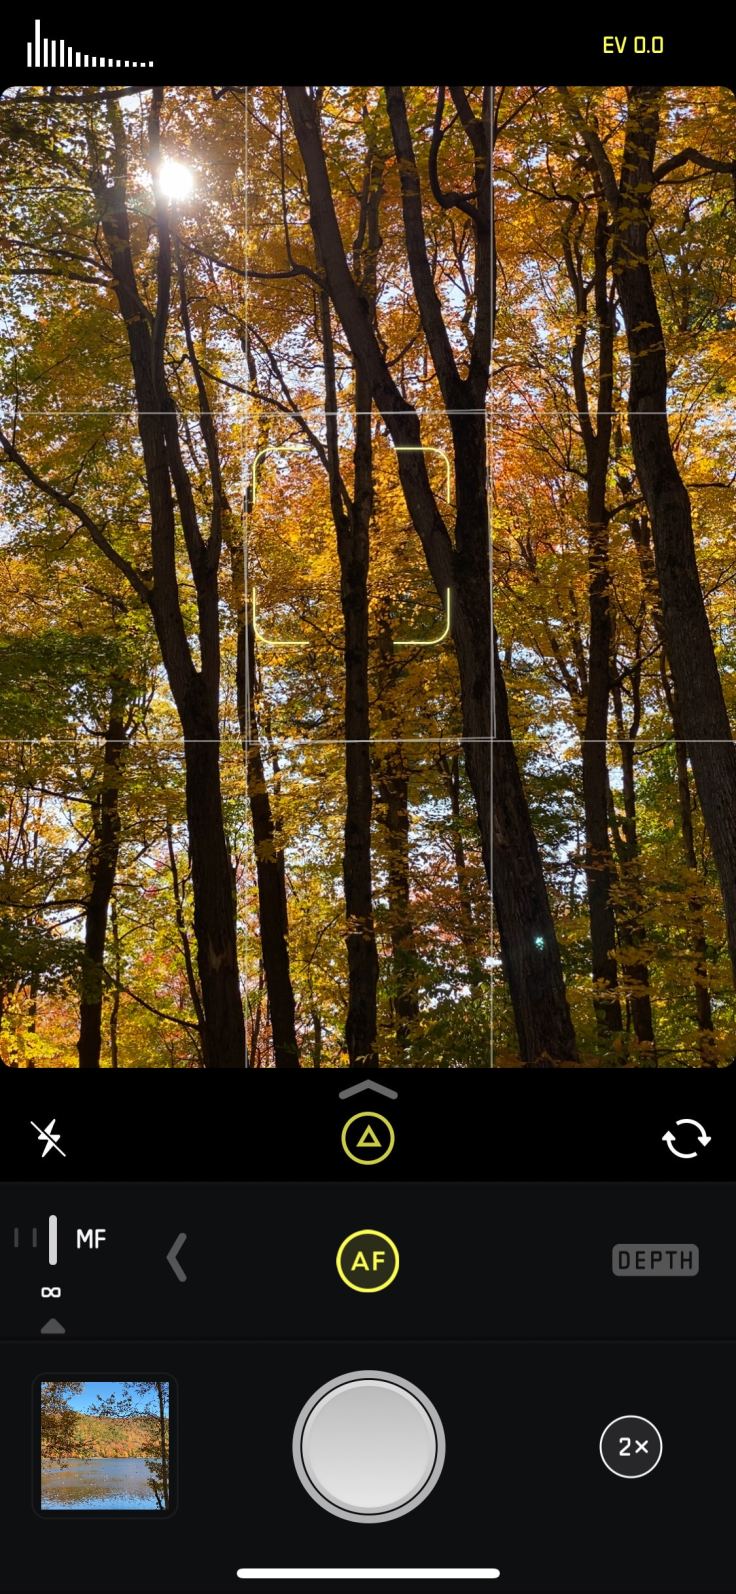
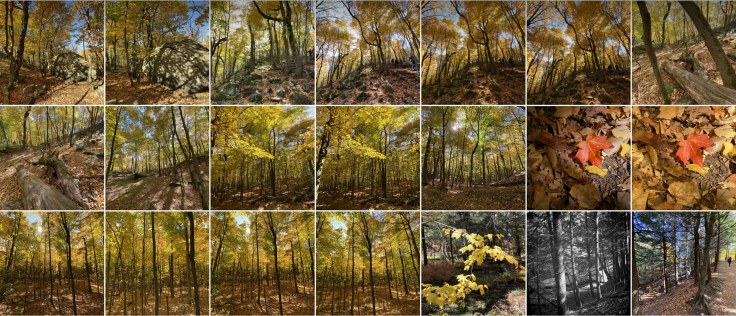
This weekend I went out to capture fall colors in a small regional mountain park in Mont Saint-Hilaire, near Montreal, Canada. This is a wonderful place just 45 minutes away from home. The timing was perfect, the colors splendid. My iPhone 11 Pro was the only gear I brought with me.

Using the free Topo Maps Canada application, I recreated the area where I spend most of my afternoon. It was a two hours hiking session during which I took quite a few pictures with Halide camera application.
For this occasion, I wanted to capture most of my images in RAW format. As Adobe Lightroom is still not updated to support iOS 13 and the iPhone 11 Pro, I went ahead with the excellent Halide camera application. I knew in advance that I would use Pixelmator Photo to edit my best pictures. I made a few interesting observations.
Apple’s Photos.app limitations
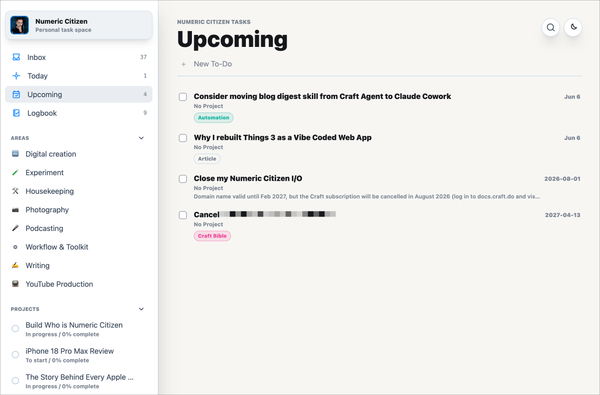
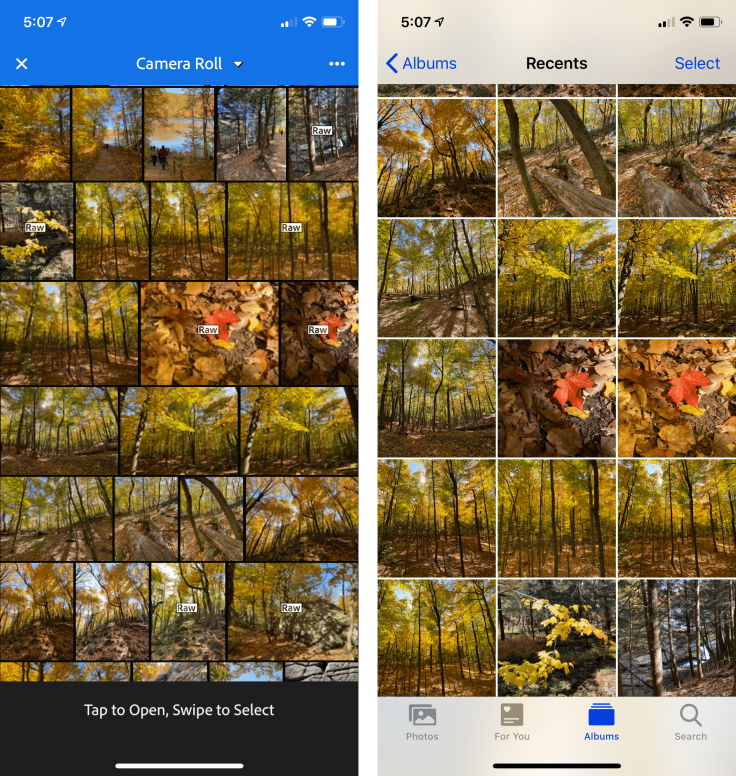
As I have previously noted on this blog, Apple’s Photos.app doesn’t show labels on pictures to easily identify RAW images in the library. The is beyond being stupid for a company so proud of themselves when it comes to photography. The following screenshot show how impossible it is to distinguish which pictures are in RAW format.
But, when you use Pixelmator Photo, RAW images are clearly identified. It is then easy to select the right image to process.
Here is another look comparing photo browsing from with Adobe Lightroom to Apple’s Photos.app.
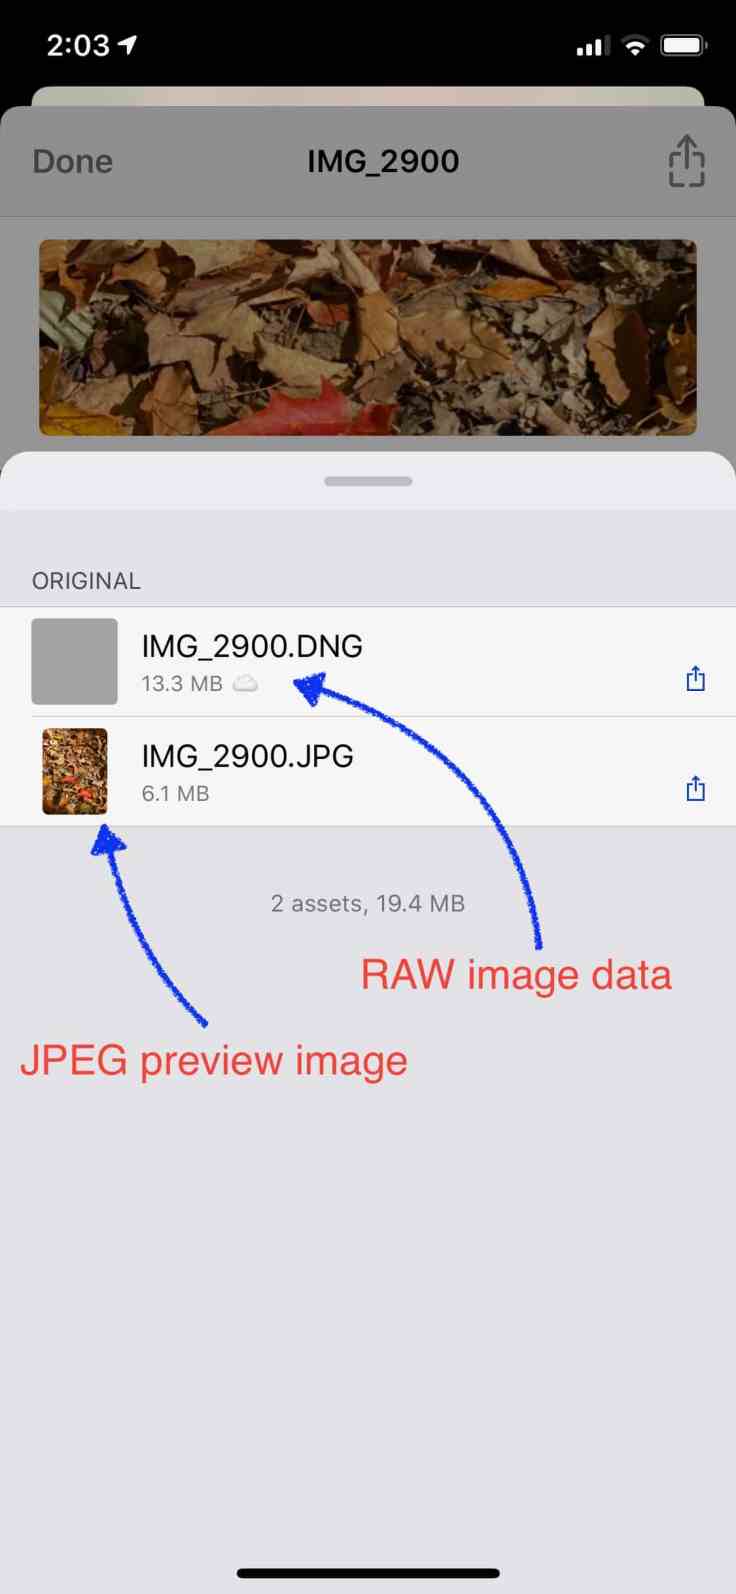
Also, with Apple’s Photos.app, we cannot see an image’s metadata. This feature could easily be added in the information pane after swipping up the image. So, to peek inside an image’s metadata, I relied on a third-party app like the very handy Metapho. I use this app all the time. In the following annotated screenshot, using Metapho we can see an image as having two assets assets.
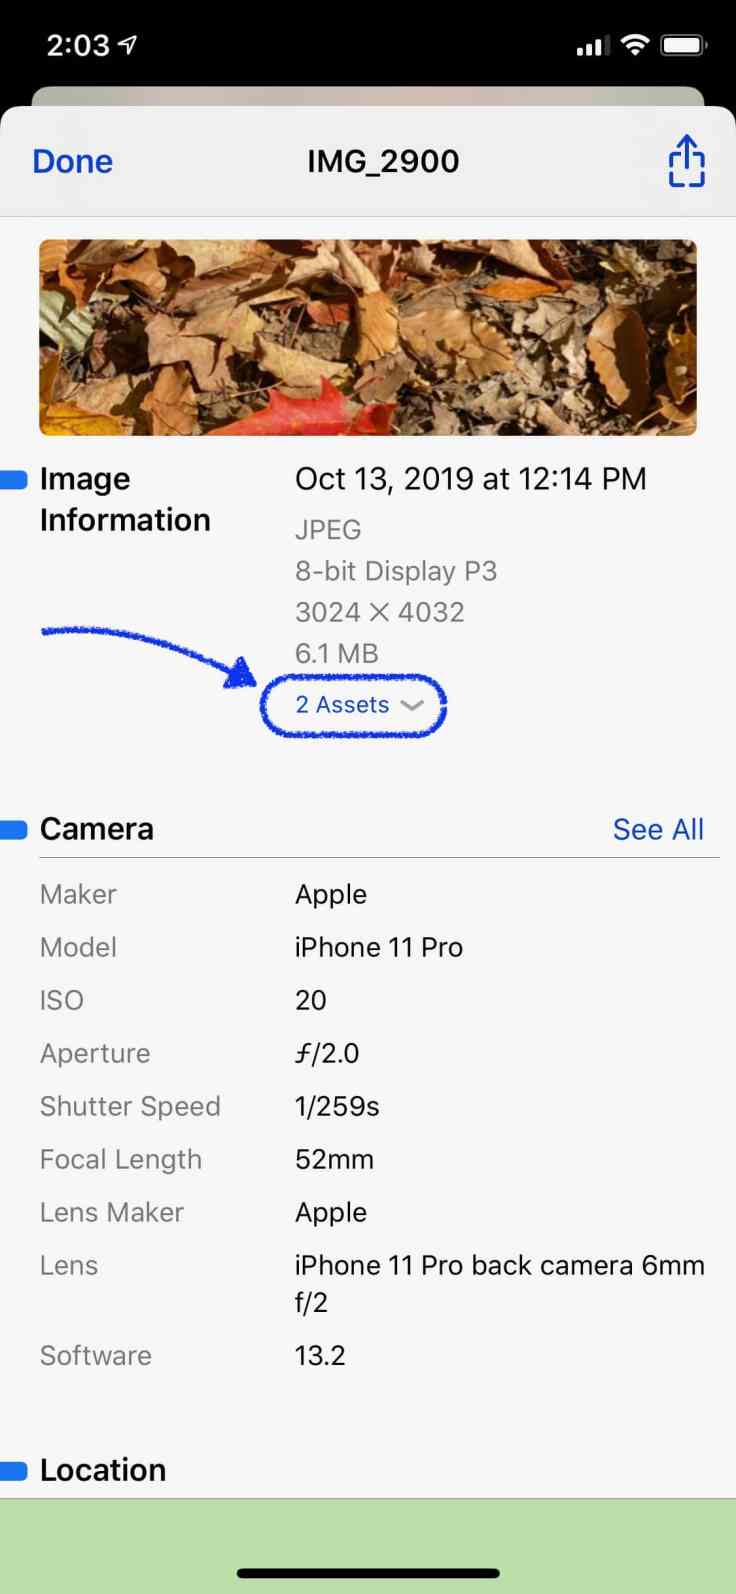
Tapping on the dropdown menu will reveal the following components: a JPEG and a DNG component which is a RAW image version. JPEG is used to display the image; It is heavily processed and is not suitable for use for serious photo editing purposes. The RAW image contains all the unprocessed data captured by the iPhone sensors. Application like Pixelmator uses this component for editing purposes. But here is a more fascinating look of what is happening behind the scenes.
Using Pixelmator Photo to edit RAW images
The following video sequence shows what happen when I open a photo taken with Halide from within Pixelmator Photo. The top left picture is the one used for the video sequence.
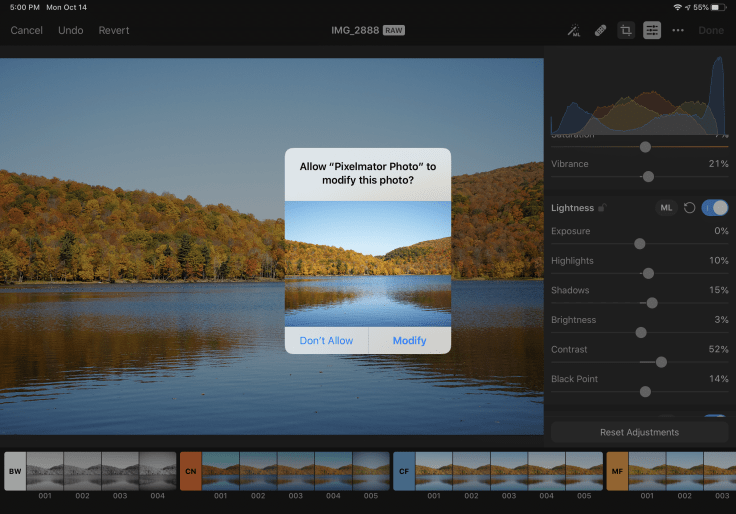
The initial image filling up the screen is very pixelated at first. I suspect this is because Pixelmator Photo uses a low resolution proxy image for the initial view while loading the higher resolution image in JPEG format. The better looking version of the image appears near the end of the sequence. Next, on the following video sequence, look what happens upon entering in edit mode.
After a few seconds of processing (this is an iPad Pro 2018 by the way), the image appears showing a clear loss of contrast. It did look better just before hitting the Edit button and then it turns dull. Why is that? The starting image Pixelmator Photo is showing is the actual RAW image which is unprocessed. This is what the sensor captured. It is a typical RAW rendering which lacks contrasts and definition. It is up to the photograph now to do the processing.
Finally, here is a side note. What happens if you decide to export RAW images from Photos.app to Files.app with a drag and drop gesture or via the Share Sheet? Well, this operation will result in a file lacking the RAW asset composent. It is very important for you to know that because what you will be editing afterward will be based on a JPEG version of the image, not a RAW version. Honestly, I think this could be a bug as there is no reason to leave the RAW portion behind.
How edits actions are saved
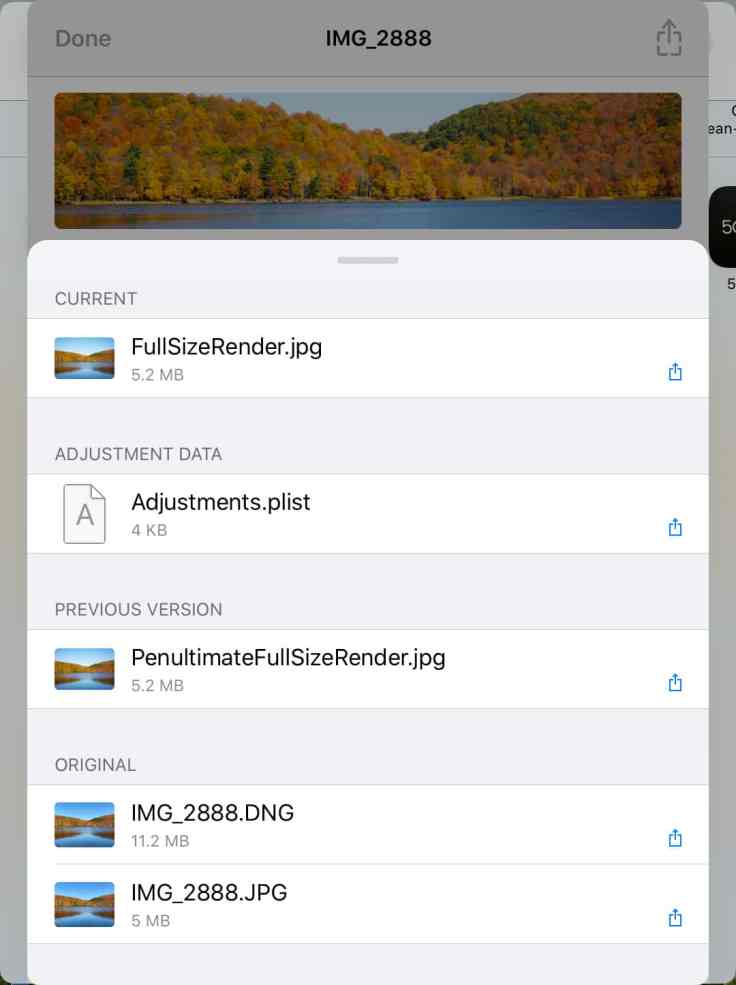
When doing photo editing in Pixelmator Photo, and you hit Done, where are the edit actions saved? Here is an example.
Remember, this is a non destructive operation as you can revert to the original image. Again, using Metapho, you’ll discover that a few more assets have been added to the image as shown here.
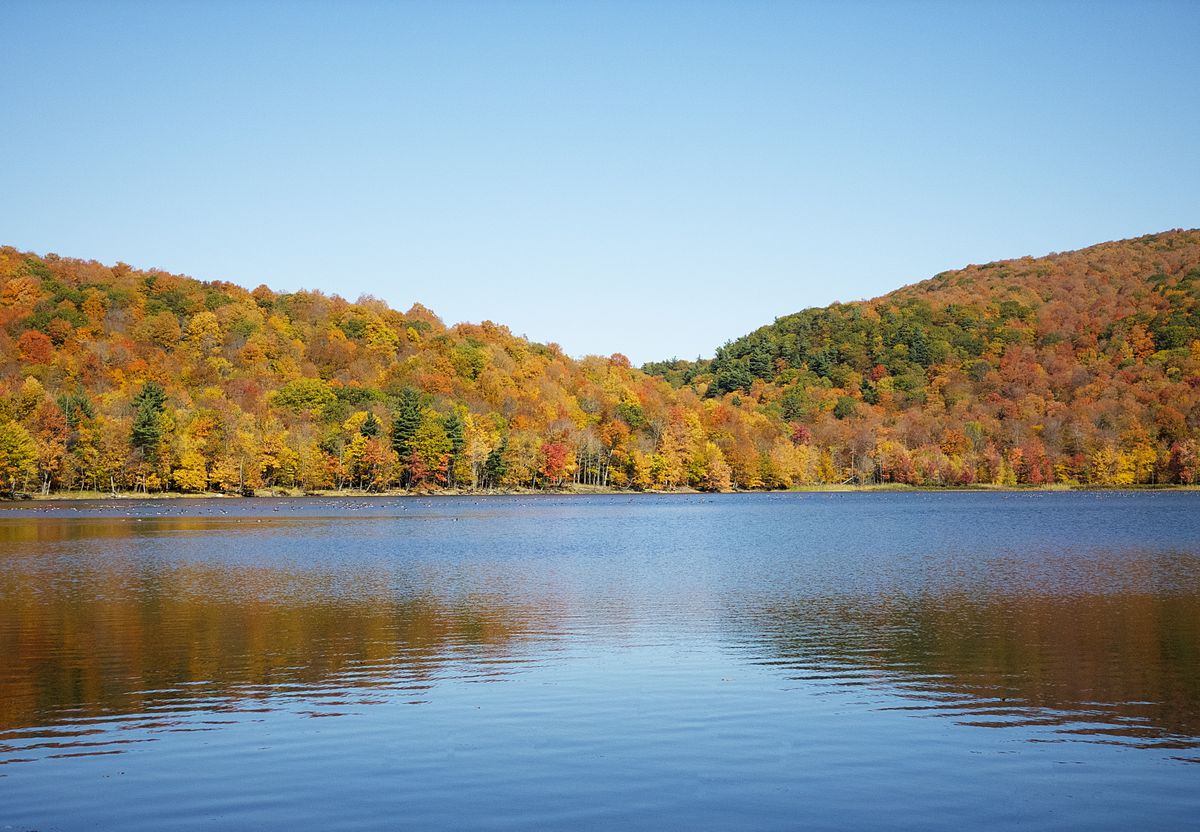
The final result, after my own edits (not the ones done by algorithms within iOS) is shown here for you to enjoy. Fall colors are beautiful, aren’t they?

What about Photos on macOS?
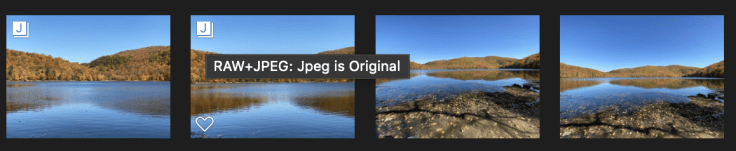
When an image has both RAW and JPEG components, Photos will display this small label at the top left corner as shown in the following screen capture. This is a bit better than what we get on iOS. Why is that? No reason.
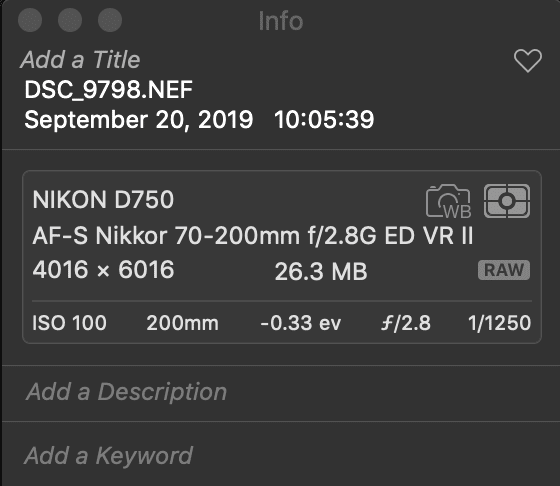
If you hit Command-I, a popup information window will appear as shown here. Photos doesn’t show assets as two different components like Metapho did on iOS. This screenshot was done while running macOS Mojave. I should check if in macOS Catalina is better which I doubt.
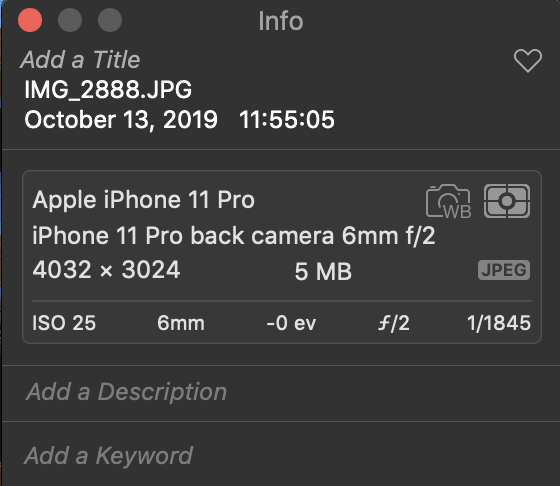
Doing the same thing on a RAW image will clearly show that the image is of RAW format. I wish both platform would exhibit the same capabilities, after all, they both come from Apple, right?
In this blog post, my goal was to show you the “behind the scene” look of using RAW images on iOS. I hope you get a better understanding of how images are stored within the photo library. iOS is not yet perfect for supporting RAW images but each year Apple is slowly closing the gaps.
What is your take? Feel free to leave a comment and engage discussion! Always welcomed!