Migrating Adobe Lightroom Classic to a New Computer — My Experience
Learn how to migrate Adobe Lightroom Classic from one Mac to another. It’s a simple process when done with the right preparation.

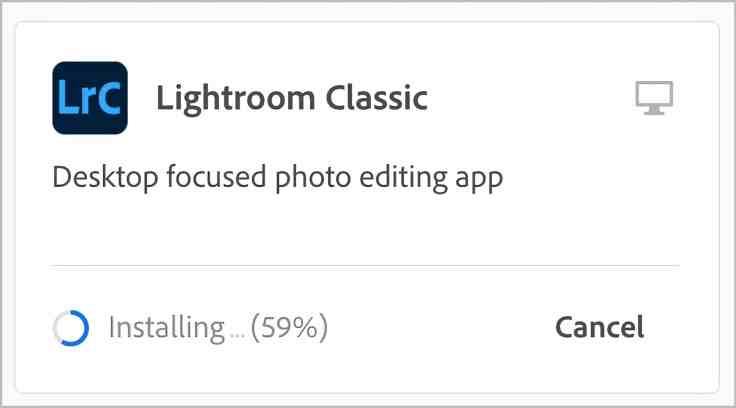
Last fall, I bought an M1 Mac mini and since then, I had to put my older 2017 Intel iMac up for sale while its market value is still good1. There was one thing that was holding me back: Lightroom Classic had to be migrated to my Apple Silicon Mac mini. Lightroom Classic was the last application to be updated to support the M1 chip. The timing was perfect this summer as I didn’t have a bunch of photos to process and some spare time2.
Moving Lightroom Classic to another computer is well documented on the web, but I wanted to write about my experience and maybe provide another perspective, a new experience point. All in all, the migration was easier than I thought.
My Lightroom Classic setup is relatively simple, but I had to take care of a few things outside the application itself. I’m referring to the way I store and manage my photos on the Mac and how I use Synology Drive to sync folders to my Synology NAS. My most recent images are stored on the internal drive (the fastest but the most expansive space to use). Less recent files are eventually put on a cheaper drive but are also backed up to my Synology NAS using Synology Drive.
Copy your Lightroom Classic data before
When migrating Lightroom Classic, there are quite a few things to copy from one machine to another: the catalog, catalog backups3, photos, presets, photo previews4, any plugins and applications settings (preferences). The challenge is to determine the directory where all those things reside on a macOS machine (items placement is well documented and differs from a Windows machine). Once done, the copy operations can begin. The idea is to copy all the required pieces before installing Lightroom itself. Lightroom will search for a catalog, without which the application doesn’t start. Upon completion of the data migration, installation of the application can take place followed by the application launch.
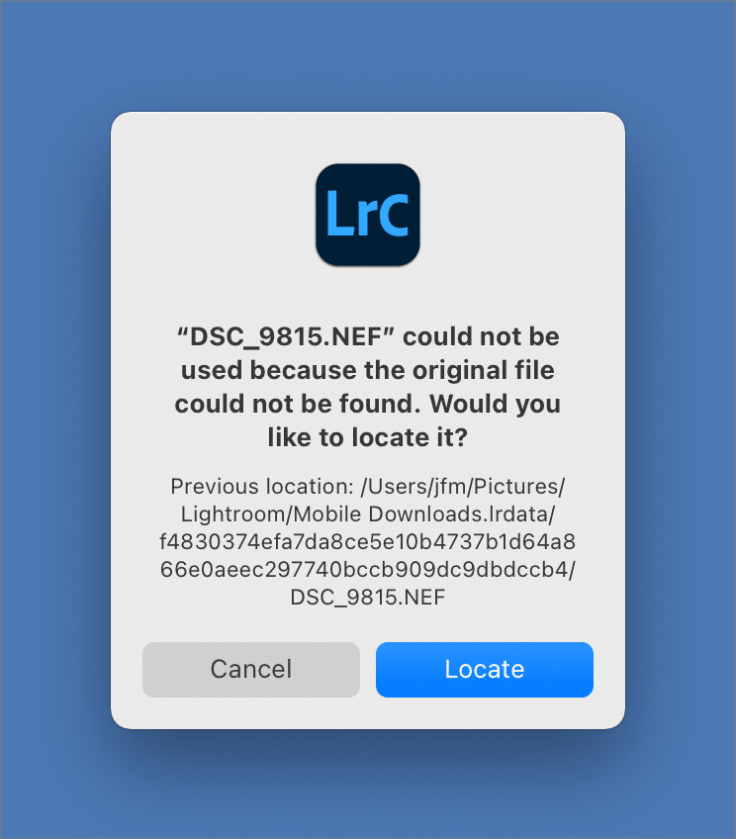
Starting Lightroom Classic on the new computer — my M1 Mac mini
Here are the steps involved when starting Lightroom Classic for the first time on the new Mac after migrating all the data and needed files from the older machine.
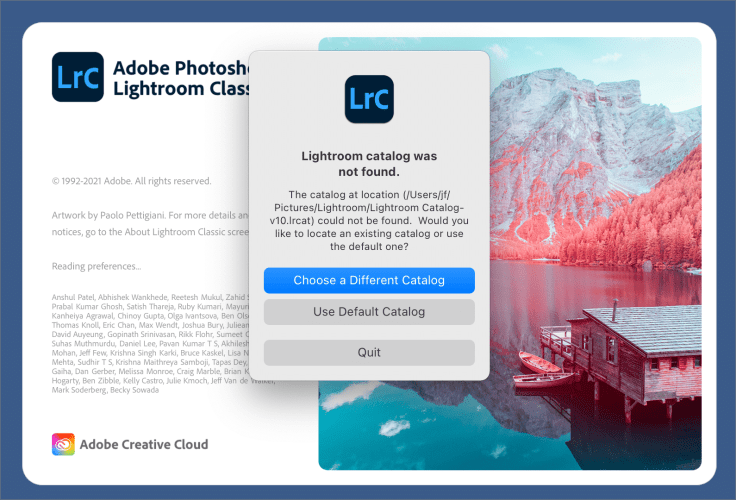
- Configure which default catalogue file to use as requested on first start. The idea here is to select the file copied from the other Mac.
- Located picture files on the local drive to re-establish links. When browsing pictures, thumbnails marked with an exclamation mark indicate that searching for the original is required to re-establish the link between the catalog and the originals.
- Set new location of catalogue backups. This is done while editing the application preferences.
- Change external editor to Pixelmator Pro. This time, I wanted to use the excellent Pixelmator Pro, since I’m dropping Luminar5.
- Plug external drives to re-link files to the migrated catalog. If there are pictures stores on an external drives, links needs to be re-established by locating picture files.
- Syncing with Lightroom CC is automatically working6, no reconfiguration required. Since the application’s preferences were copied, the syncing settings were already there and enabled. As the sync destination was already configured to be one of my external drives, no photos downloads took place, saving quite some time and network bandwidth.
- Confirm that SmugMug publishing service is working – update plugin as requested. Everything worked fine on the first try after that.
- At this stage, I consider my Lightroom Classic installation on my Apple Silicon mac to be fully operational and complete.
The whole migration process was much smoother than I was expecting. Upon completion, the next thing for me was to try Lightroom to get a sense of the speed difference. Browsing the catalog, switching between modules, editing a few photos were simple tasks that were enough to get a sense of any speed improvements. While there is a noticeable difference, it isn’t night and day. Is this surprising? Nope, considering that we’re talking about Adobe Software here, right?
The final part of this article is a detailed summary of the things that need to be done in order to have a smooth migration process. I hope this article will help you migrate your installation of Lightroom Classic to a new computer.
Things to do for a smooth migration
- The following things need to be copied to the destination machine: catalog(s), catalog backups, photos on internal drives, presets, previews, plugins (SmugMug).
- Install Lightroom Classic from the cloud, do not start it.
- Locate the directories containing photos on the Internal drives and copy them at the same location on the destination Mac.
- Locate other Lightroom CC important files and directories and copy them at the same location on the destination Mac.
- Lightroom Classic main catalog is located in Photos in my home directory, in the «Lightroom» folder.
- Lightroom CC sync data is located in « Lightroom » directory in Pictures within my home directory. This file won’t be required because it is already created on the Mac mini.
- Lightroom CC plugins are located in /Users/<username>/Library/Application Support/Adobe/Lightroom/Modules.
- Presets are located in this folder: /Users/<username>/Library/Application Support/Adobe/Lightroom/.
- Lightroom Classic application Preferences file: /Users/<username>/Library/Preferences/com.adobe.LightroomClassicCC7.plist. Some preferences settings refer to things that won’t work upon starting Lightroom Classic for the first time. Settings related to Lightroom Sync for example. Another one is for External editing setting which was set to use Luminar 4.
- About the file “Mobile downloads.lrdata” in /Pictures folder, you can find an explanation of this file use here.
- The file has to be copied to the destination machine too.
- “The file “mobile downloads.lrdata” was originally the destination folder for all images downloaded from the cloud going all the way back to LRCC 6. At some point Adobe changed the fixed destination to one that could be defined in preferences. The fixed destination was set as the default.
- Locating missing files within the “mobile downloads.lrdata” was impossible unless I proceed by extracting the files myself. “Mobile downloads.lrdata” is in fact a “Package file” that can be opened with a right-click. Once done, I simply copied the files outside in a new folder. Then, I was able to located them from within Lightroom. The “mobile downloads.lrdata” was then no longer needed.
- Install Synology Drive and configure it the same way as on the older Mac.
- Download and Install the latest version of Synology Drive compatible with Big Sur, M1 Macs and DSM 7.0.
- Reconfigure backup jobs with same settings as before.
- Manually start a backup of the same source folder sitting on my external drive to the NAS destination. Monitor the process. Confirm everything is ok (especially looking ag any possible file duplication).
- Go on Adobe.com and sign-in with my Adobe ID, then visit the Account settings, Plans and payment then Activated devices and deactivate the older machine account.
- Download and Install the latest version of Synology Drive compatible with Big Sur, M1 Macs and DSM 7.0.
- The money I would get from it would help my finance my recent purchase, an M1 MacBook Air. ↩
- Thanks to COVID-19, I didn’t make any significant trip this summer. ↩
- This one is optional, only if you care to recover a very old catalog file. ↩
- Photo previews can be automatically generated if you don’t migrate them but it is slowing down Lightroom not to migrate them. ↩
- Luminar used to be a good photo processing software but it is lagging behind Lightroom and Pixel Pro is much better. ↩
- Provided that Lightroom CC is already installed. ↩
